Garden beds are very easy to construct and are a good way to start a garden without the need to cultivate and prepare your land for planting.
Here are the instructions on how to assemble a garden bed.
You will need:
- 1 x Sack of Soil (Garden Soil or Garden Soil with Wollastonite)
- Building Materials for 1 Garden Bed:
- 4 x 4x4x16″ Posts
- 12 x 1x6x48″ Boards
- 50 x #8 2 1/2″ Screws
You will require the following tools to assemble it:
- Power Screw Driver
Assembly Instructions
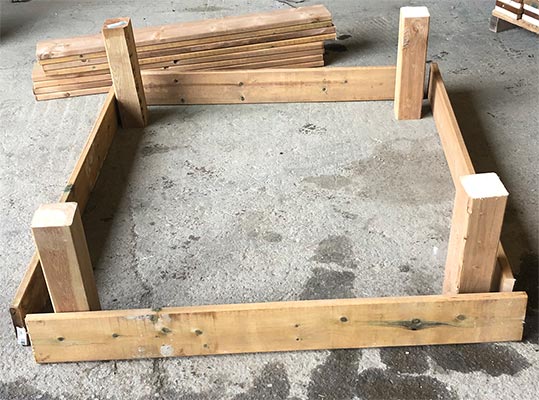
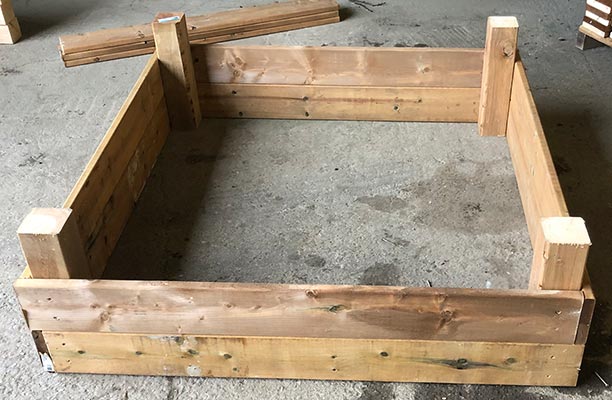
Step 1
On a level surface lay out the first layer of boards and the 4-corner posts. The 4×4 Posts should be spaced about 4 feet apart from each other.
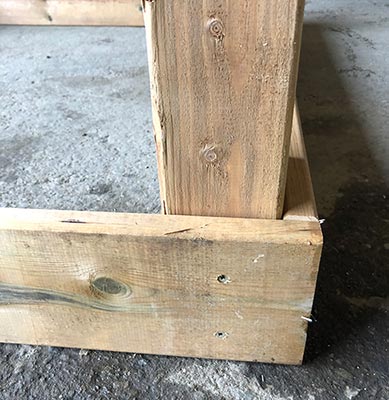
Step 2:
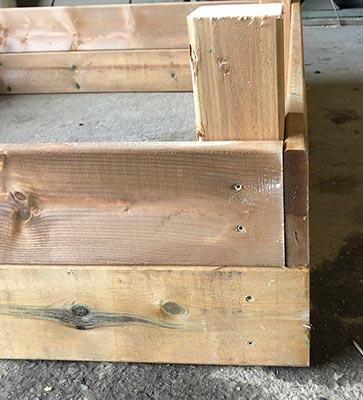
Pick a corner to start working from. Align the first board with the edge of the first corner post. Take the 2nd board and align it with the outside of the first board. Once all the pieces are flush, screw each board to the post with 2 screws. Repeat this process for the other 3 post. IMPORTANT: Ensure that the board that is flush with the 1st post overhangs the width of the board on the 2nd post.
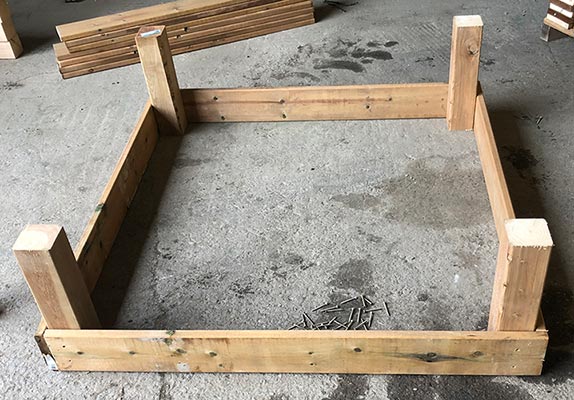
Step 3:
Attach the 2nd layer of boards on top of the first. Attach each board to the post using 2 screws. IMPORTANT: Remember to alternate the overlapping corners!
TIP: If you intend to place the garden bed in a different location, reposition it before adding 2nd and 3d board layers so it lighter and easier to move.
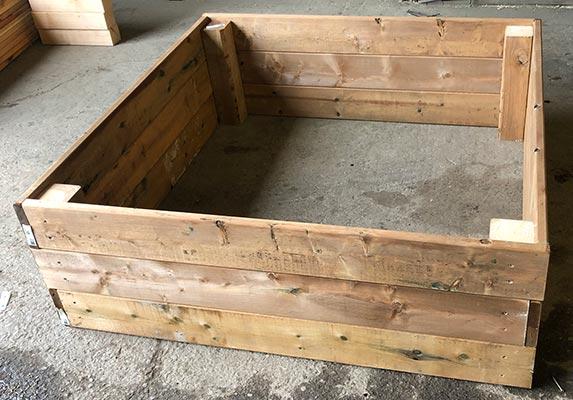
Step 4:
Attach the 3rd layer of boards on top of the 2nd. IMPORTANT: Once again, ensure the corners are overlapping.
Once your new garden bed is in its permanent location, fill it with soil and you are ready to plant!
